Orlando Web Design & Development
Dreamweaver is used to create and edit web pages on your local computer. Once the web pages are done, using FTP (file transfer protocol) the final files are uploaded to a remote web server (web hosting) were they become available for users to view online.
In this tutorial you’ll learn how to:
- Set up your project files (local computer)
- Define a local root folder (local computer version of your site)
- Setup and connect to a remote server (web hosting server)
- Upload files to the remote server using FTP
1. What is a Dreamweaver “site”?
A Dreamweaver “site” is the local or remote storage location for all the documents that belong to a website (HTML pages, CSS styles, Scripts, images, audio, video, etc.). A Dreamweaver site provides a way to organize and manage all of your web documents, upload your site to a web server, track and maintain your links, and manage and share files.
A basic Dreamweaver site consists of two parts:
- Local root folder: Dreamweaver refers to this folder as your “local site.” This folder is located on your local computer and it stores all the files that your website uses.
- Remote folder: Dreamweaver refers to this folder as your “remote site“. This folder is located on your web hosting company’s server and it stores all the files that users access on the Internet.
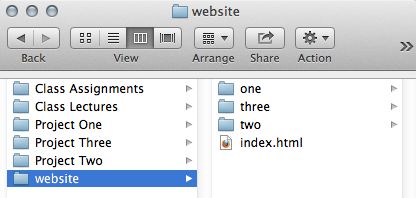
2. Understanding local and remote folder structure
Set up a “website” folder in your local computer:
Name conventions:
- lowercase
- No spaces
Image files:
- Do not upload PSD files to the remote directory
- Image files should only be JPG, PNG or GIF
3. Setting up the “Local Root Folder: or “Local Site”
To set up a local version of your site, all you need to do is specify the local folder where you store all of your site files.
a. In Dreamweaver, choose Site > New Site.

b. In the Site Name text box, enter a name for your site. This name is for reference only; it does not appear in the browser.
c. In the Local Site Folder text box, click on the folder icon, browse your computer, and select the folder that stores your website and all its files.
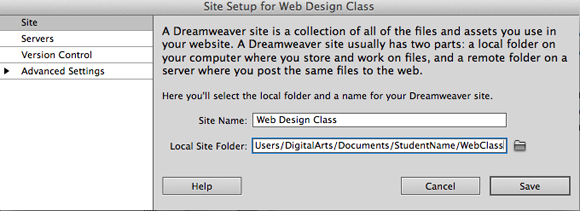
d. Click “Save” to close the Site Setup dialog box.
4. Connect to a remote server via FTP/SFTP
Once you’ve specified a local site in Dreamweaver, you can specify a remote server for your site as well. The remote server (often referred to as the web hosting server or web server) is where you publish your site files so that people can view them online.
Dreamweaver refers to the specified remote folder as your remote site.
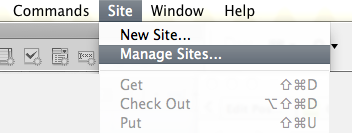
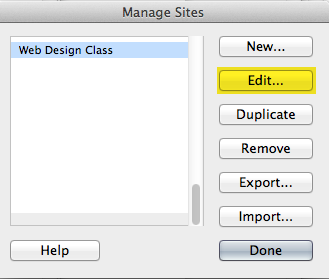
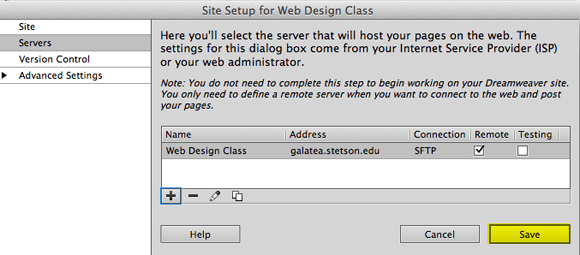
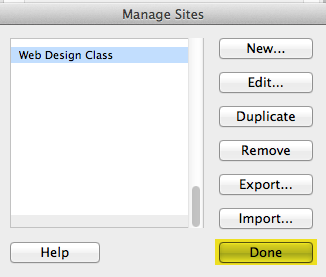
a. In Dreamweaver, choose Site > Manage Sites
b. Select the Dreamweaver site you would like to connect via FTP/SFTP and click “Edit”
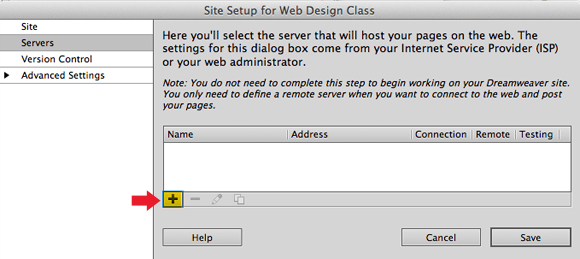
c. In the Site Setup dialog box, select the “Servers” category

d. Click the Add New Server button
e. Enter the FTP/SFTP information
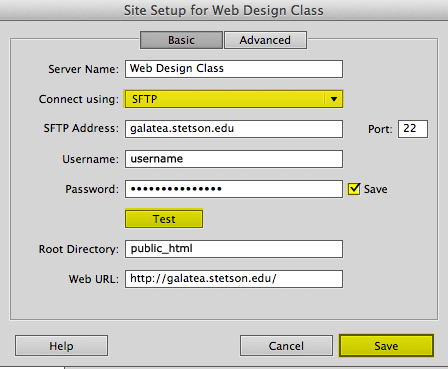
- Use Secure FTP (SFTP) if your firewall configuration requires use of secure FTP. SFTP uses encryption and public keys to secure a connection to your testing server.
- Enter the FTP/SFTP address
- Enter username
- Enter password
- Root Directory enter public_html
- Check “Save”
- Click on “Test”
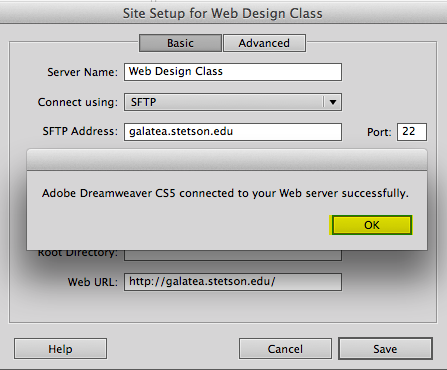
If Dreamweaver successfully connects to your server click “OK”.
If Dreamweaver cannot connect to the server double check that the information you entered is accurate.
5. Click “save”
6. Click “done”
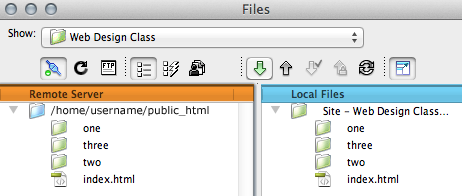
5. Transferring files
A. Put files on a remote server:
You can put files from the local site to the remote site
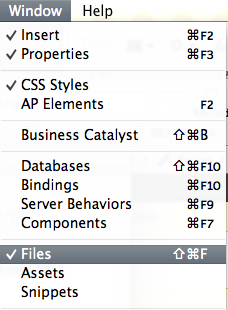
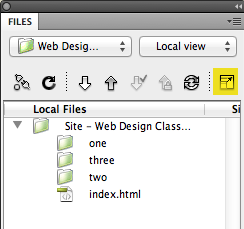
1. Open the Files panel toolbar:
From the main menu go to Window> Files
2. Click on the “Expand” button
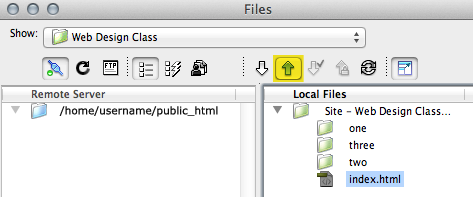
3. Click on the “Connect” button

Do one of the following to put the file on the remote server:
a. Select the file and click the “Put” button (blue arrow going up) in the Files panel toolbar
or
b. Select the file and drag and drop it into the remote folder
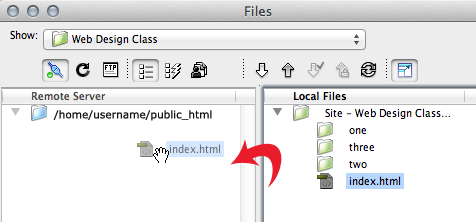
Now you should see the file on the remote folder

B. Get files from a remote server
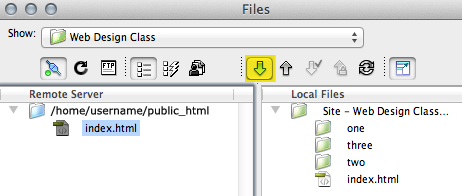
Use the Get command to copy files from the remote site to your local site.
Do one of the following to get the file:
- Select the file and click the “Get” button (green arrow going down) in the Files panel toolbar
- Select the file and drag and drop it from the remote server to the local server
Can’t Connect?
1. Check that your internet connection is working.
2. If the server settings changed you might need a new SSH host key (the local fingerprint stored by Dreamweaver was not updated).
For Dreamweaver, you have to manually delete the ssh_hosts file in:
user/Library/Application Support/Adobe/Dreamweaver CS5/en_US/Configuration

