1. Rename objects:
In order to organize your scene, first you need rename your objects.
Do one of the following:
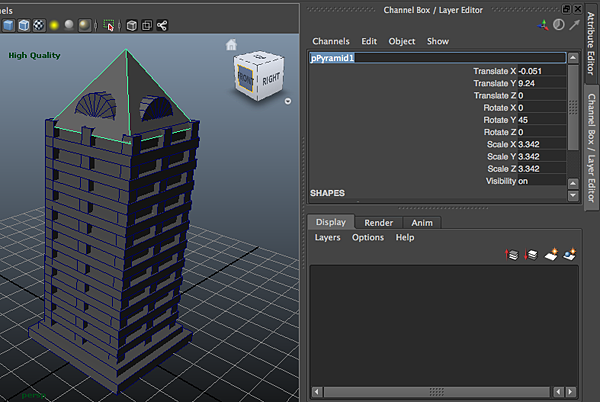
a) Select an object or node and edit its name at the top of the Channel Box.
To open the channel box go to Display>UI Elements>Channel Box/Layer Editor
 b) Double-click a node in the Outliner.
To Open the Outliner Window>Outliner
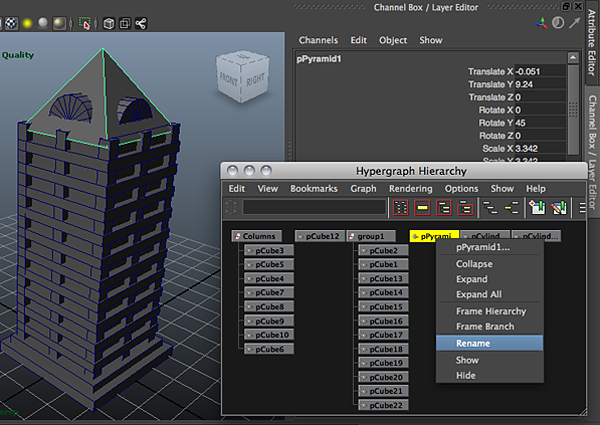
 c) On the Hypergraph right click on a node and select Rename
To open the Hypergraph go to Window> Hypergraph Hierrachy
2. Group Objects
Select Objects and group them appropriately; don’t forget to rename your groups.
To group objects in Maya:
a) Select 2 or more objects
b) Select Edit>group or Command + G
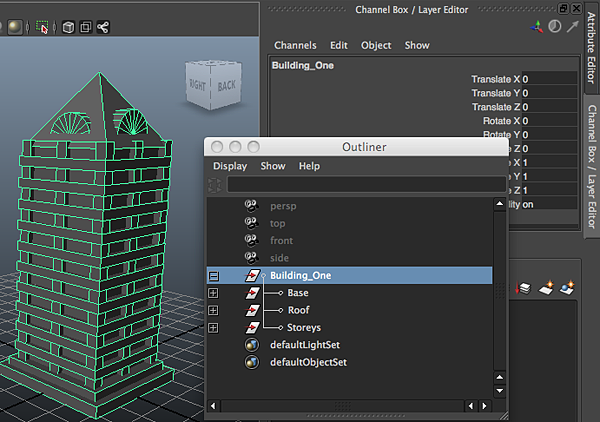
In the example below the whole building is group under “building_one” and within that group there are three more groups:
- The roof
- The storeys
- The base
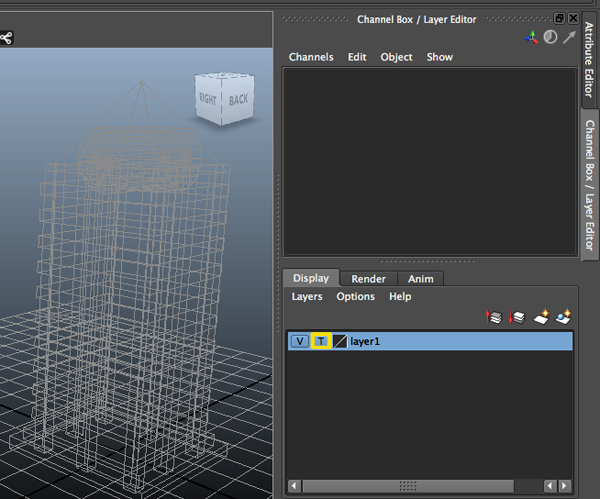
3. Organize objects using layers
Layers are overlapping views of your scene that have objects attached to them. You can assign any objects within a scene to layers. The advantage of using layers is that you can organize your scene while protecting objects from being accidentally moved or transformed. You can make a layer visible, invisible or a template.
To show the Layer Editor:
Select Editor> Select Display > UI Elements > Channel Box/Layer Editor
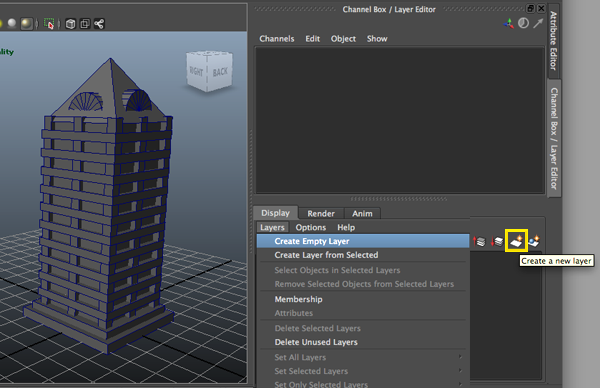
To create a new layer:
In the layer Editor select Layers > Create Empty Layer, or click the Create a new layer button
To rename a layer:
Double click the layer in the Layer Editor, and enter the new name.
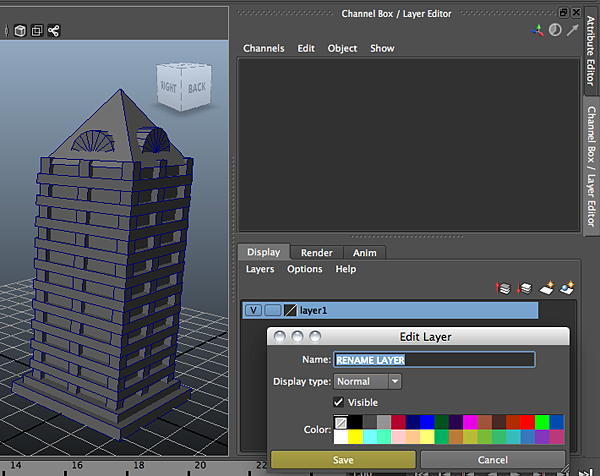
Naming rules:
• No white spaces
• Alpha numeric
• Can’t start with a digit
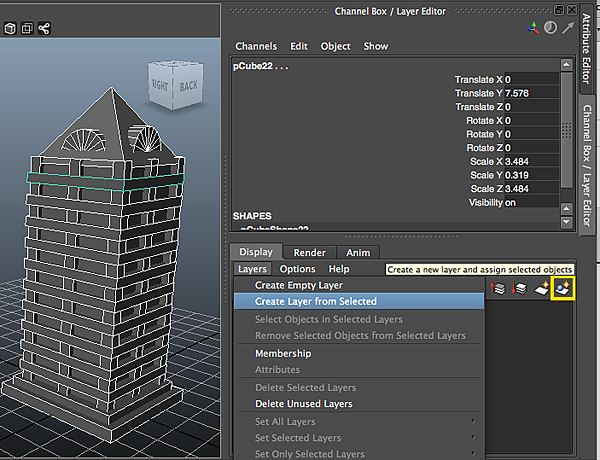
To create new layer from seelcted:
a) Select objects
b) In the Layer Editor select layers> Create layer from selected or click the icon create a new layer and assign selected objects
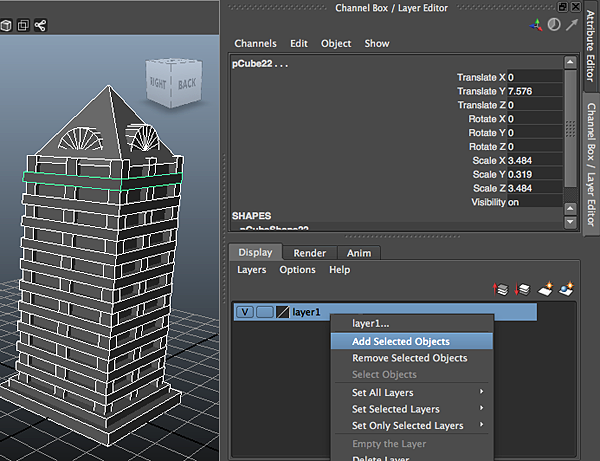
To assign a selected object to a layer:
a) Select objects
b) Select the layer in the Layer Editor
c) Right click the layer
d) Select Add Selected Objects.
To remove the selected objects from a layer:
a) Right click the layer
b) Select Remove Selected Objects
To delete a layer:
a) Select the layer in the Layer Editor
b) Select Layers > Delete Selected Layers
To delete layers without any objects:
In the Layer Editor, select Layers > Delete Unused Layers
To show or hide the contents of a layer:
Show or hide a layer click on the letter “V” located on the layer.
“V” in the box means the layer is visible.

Layer’s display type:
- A blank box means the layer is normal.
- A “T” means the layer is templated (You can see the object but you can’t modify it).
- An “R” means the layer is reference (You can snap to objects in the layer, but you cannot select them or modify them).